How to Cook the Perfect Ham: Moist, Glazed & Delicious Every Time
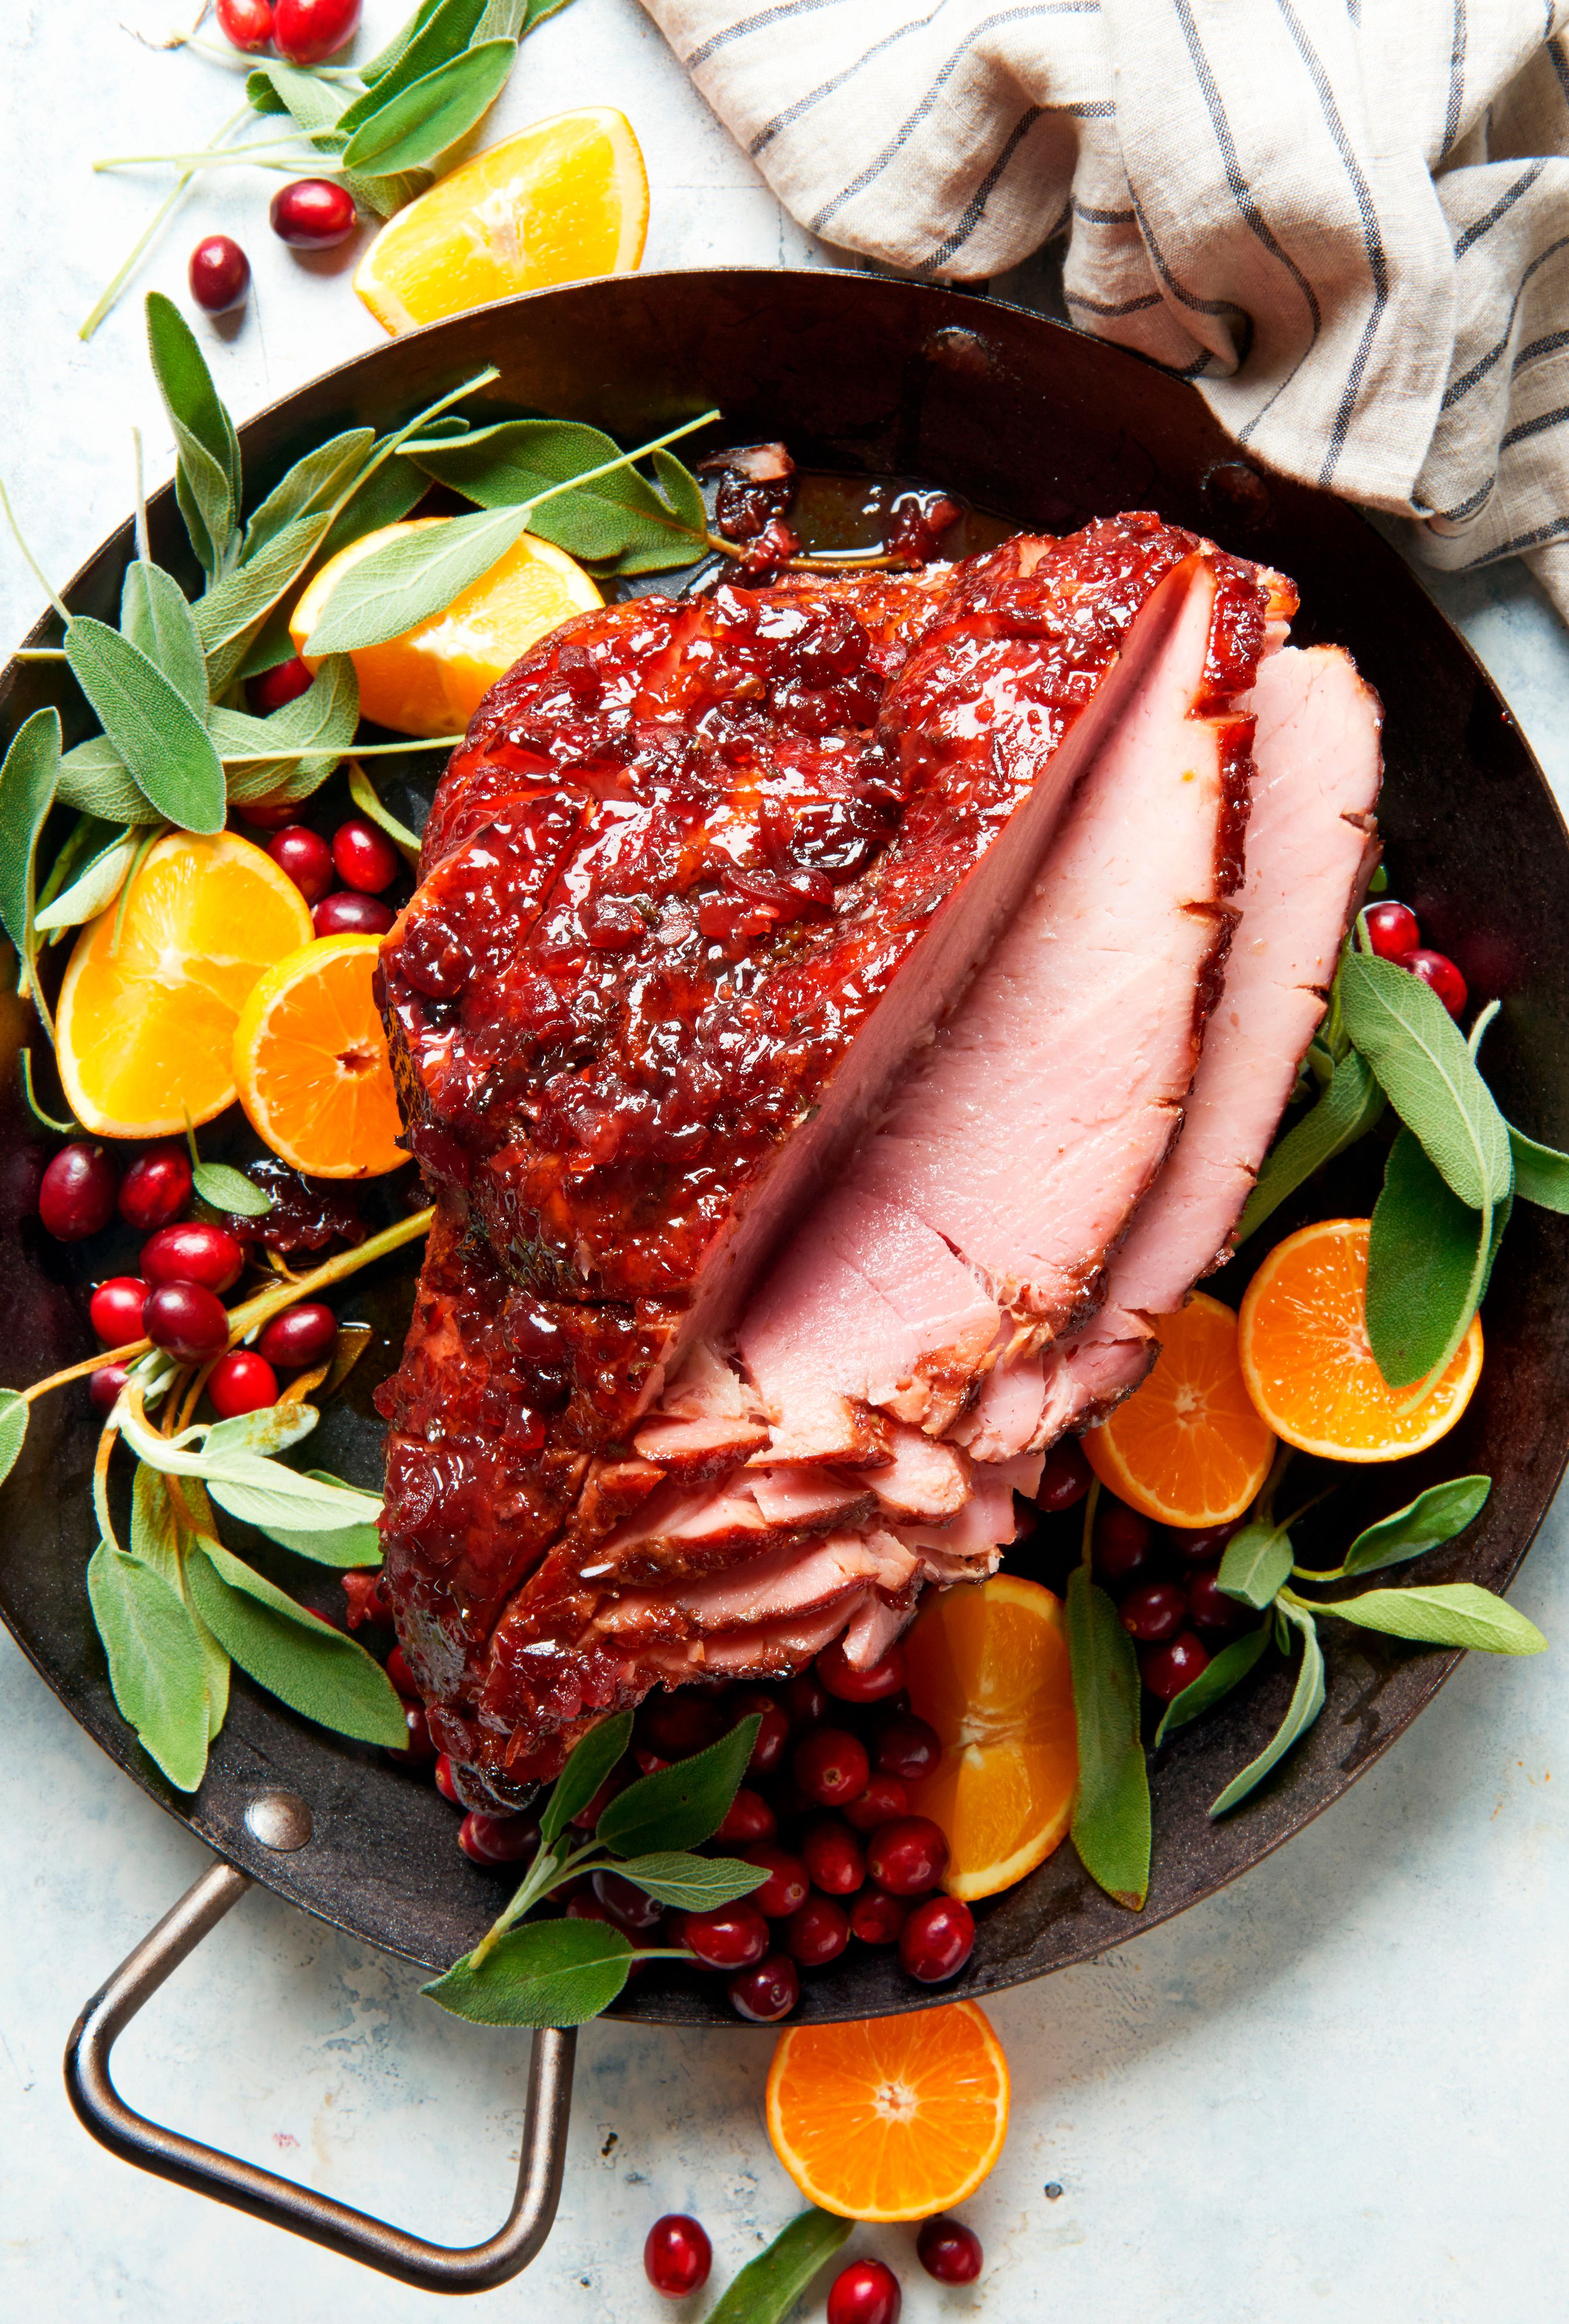
Few dishes command the center of a holiday table quite like a beautifully roasted ham. With its savory aroma, glistening caramelized crust, and tender, juicy meat, a perfectly cooked ham is the ultimate crowd-pleaser. If you've ever dreamt of serving a show-stopping centerpiece that earns rave reviews for its succulence and flavor, you've come to the right place. This comprehensive guide will walk you through every step of how to cook a ham that is not just delicious, but memorably moist and exquisitely glazed.
Forget dry, bland ham. We're here to unlock the secrets to a truly outstanding baked ham, focusing on essential techniques from selecting your ham to the final, delectable slice. Get ready to impress your guests and elevate your next holiday feast!
Choosing Your Ham and Understanding the "Cooking" Process
The first step to success begins before you even preheat your oven: selecting the right ham. For most home cooks aiming for a magnificent holiday spread, the best choice is a fully cooked whole ham. This might sound counterintuitive to "cooking a ham" from scratch, but here's why it's ideal:
- Food Safety First: A fully cooked ham has already undergone a curing process that renders it safe to eat. Your primary goal isn't to cook it from raw, but rather to gently reheat it thoroughly, infuse it with flavor, and develop that irresistible crispy, sticky glaze.
- Focus on Flavor: By choosing a pre-cooked ham, you're liberated from the complexities of raw meat preparation, allowing you to concentrate entirely on perfecting the texture and enhancing its natural savory notes with an incredible glaze.
Hams typically come in two main forms:
- Bone-in Ham: Often praised for superior flavor and moisture retention due to the bone marrow, a bone-in ham can be a bit trickier to carve but is well worth the effort for many.
- Boneless Ham: Easier to slice and serve, boneless hams are a practical choice, though some argue they might slightly compromise on flavor compared to their bone-in counterparts.
Whichever you choose, ensure it's labeled "fully cooked." A good rule of thumb for serving size is about ½ pound per person for a boneless ham, or ¾ pound per person for bone-in (to account for the bone).
Crafting the Classic Brown Sugar Glaze for Max Flavor
The glaze is where your ham truly transforms from good to glorious. A classic brown sugar glaze offers a perfect balance of sweetness, tang, and a subtle kick that caramelizes beautifully, creating those coveted sticky edges. While there are countless variations, our go-to recipe provides a robust foundation:
- Brown Sugar: The star, providing deep molasses notes and superb caramelization.
- Dijon Mustard: Adds a piquant contrast that cuts through the sweetness and enhances savory flavors.
- Apple Cider Vinegar: Introduces a crucial acidic element, brightening the glaze and helping it adhere.
- Apple Cider: Provides a subtle fruitiness and the liquid base for the glaze to reduce into a rich syrup.
Preparing Your Glaze:
To prepare this magical elixir, combine all the glaze ingredients in a small saucepan over medium heat. Whisk them together until well combined, then bring the mixture to a gentle boil. Reduce the heat to medium-low and allow it to simmer, stirring occasionally, for about 10 to 15 minutes. The goal is to reduce the volume by roughly half, resulting in a thick, syrupy consistency that will cling to your ham perfectly. For more detailed insights into glaze artistry, don't miss our guide on Mastering Ham Glaze: Achieve Sticky, Caramelized Perfection.
Pro Tip: While this glaze is fantastic on its own, feel free to experiment with additions like orange zest, a pinch of ground cloves, or a dash of bourbon for an extra layer of complexity.
Step-by-Step Guide to a Flawless Baked Ham
Now that your ham is chosen and your glaze is ready, let's dive into the baking process. This method ensures maximum moisture while building that irresistible caramelized crust.
1. Preheat and Prep the Ham
- Oven Temperature: Preheat your oven to 325°F (160°C). A lower, slower temperature is key to gently reheating the ham without drying it out.
- Scoring the Ham: Place your ham in a sturdy roasting pan. Using a sharp knife, score the outside fat in a crosshatch pattern. Make shallow cuts, about ⅛" to ¼" deep and ½" apart. This isn't just for aesthetics; scoring allows the glaze to penetrate deeper, encourages even rendering of the fat, and creates more surface area for that delicious crisp.
- Initial Covering: Cover the entire roasting pan tightly with aluminum foil. This crucial step traps moisture, preventing the ham from drying out during the initial reheating phase.
2. The Initial Bake for Moisture
Place the covered ham in the preheated oven. Bake for approximately 2 ½ to 3 hours, or until the ham is warmed through. The exact timing will depend on the size and shape of your ham. The foil acts as a protective barrier, ensuring the interior heats evenly while the exterior remains succulent.
For more expert advice on maintaining moisture, check out Holiday Ham Helper: Bake a Moist & Flavorful Centerpiece.
3. The Glorious Glazing Phase
Approximately 45 minutes before the estimated total cooking time is complete, it's time to introduce the star player: the glaze.
- Remove Foil: Carefully pull the ham out of the oven and remove the foil.
- First Glaze: Generously brush a layer of your prepared glaze all over the surface of the ham, working it into the scored crevices.
- Return to Oven: Place the uncovered ham back into the oven.
- Repeat Glazing: Every 15 minutes, pull the ham out, brush on more glaze, and return it to the oven. Continue this process for the remaining 45 minutes. This frequent glazing builds layer upon layer of flavor and ensures maximum gloss and caramelization.
- Temperature Check: The ham is done when an instant-read meat thermometer inserted into the thickest part (avoiding the bone, if applicable) registers 140°F (60°C). This temperature indicates it has been safely reheated.
4. Rest and Serve
Once your ham reaches 140°F and boasts a beautifully burnished, sticky crust, remove it from the oven. Brush on one final layer of glaze for extra shine, then cover it loosely with foil and let it rest for at least 15 minutes before carving. This resting period is vital; it allows the juices to redistribute throughout the meat, ensuring every slice is as moist and tender as possible.
Tips for Perfection & Troubleshooting
- The Meat Thermometer is Your Best Friend: Never guess! An accurate meat thermometer is the single most important tool for ensuring your ham is perfectly heated without overcooking and drying out.
- Preventing Dryness: Besides foil, consider adding about ½ to 1 cup of liquid (such as apple juice, chicken broth, or water) to the bottom of your roasting pan during the initial covered bake. This creates a steamy environment that further aids in moisture retention.
- Carving Like a Pro: For bone-in ham, place it on a cutting board with the flat side down. Slice around the bone to remove large sections, then slice those sections against the grain into thinner pieces. For boneless ham, simply slice against the grain.
- Leftovers Are a Gift: Properly stored (refrigerated within 2 hours), leftover ham can last 3-5 days. It's fantastic in sandwiches, omelets, soups, or even cubed in pasta dishes.
Cooking the perfect ham is a rewarding culinary endeavor that brings joy to any gathering. By understanding the nature of fully cooked ham, mastering a flavorful glaze, and following these detailed steps, you'll consistently achieve a moist, glazed, and utterly delicious centerpiece. So go ahead, embrace the tradition, and confidently create a holiday ham that will be remembered and requested for years to come!
